Friday, February 24, 2006
Wednesday, February 22, 2006
Digital Panoramas
How to capture and stitch multiple images into one high resolution image.
One of the great advantages to working digitally is the ability to stitch multiple images into a single high resolution photo for printing on a large scale. Many of today’s digital cameras are coming with the software to combine multiple images and even assistance in aligning the images during capture, but the results are mediocre at best. I have been experimenting with the use of an inexpensive software application that assists in this process, PT Assembler, with fantastic results. I routinely create 20-35 mega pixel images using 4-10 (6) mega pixel images combined with PT Assembler. This technique is not limited to panoramas; you are free to create super resolution images of any aspect ratio.
Set-up and Capture of the Images
Camera Support:
The set-up and capture of multiple images to be later stitched together is similar to standard image capture with a few controls that should be followed. First of all the camera should be securely mounted on a sturdy, level tripod if at all possible. The tripod will assist with composition and help ensure the horizon is level in the image, not to mention give your images the maximum sharpness possible. This is critical when shooting at sunrise or sunset where the exposure time will be extended, especially if the lens is stopped down (small aperture: f22, etc.) to maximize depth of field. Your tripod head should have a panning feature at a minimum, allowing the camera to be panned while the other directions of movement are fixed. I started taking images for stitching using the Manfrotto 490RC4 Ball head, but this does not give precise control of the axis of rotation or pitch movements.
If you are serious about panoramic photography then the best tool is a panoramic tripod head, which eliminates parallax error when used properly. Parallax occurs when the objects in the foreground appear to move relative to the background due to a perspective change. If you stand in front of a tree and move to the side the tree will appear shifted relative to the background. This occurs when the camera is rotated around an axis other than the lenses optical center. Every lens has at least one optical center or Nodal Point, most zoom lenses have an optical center for each focal length. The panorama tripod head allows the lens optical center to be fixed on the axis of revolution. I have been using the Panosourus Tripod Head, for the price ($55) this is the best option I have found. The head is made of wood and not for a heavy camera & Lens combination (over 3 lb).
It is also important to overlap the images by 10%-20% to aide in the alignment and blending between images. Much more that 20% and you are just wasting pixels. While we are discussing prep for the stitching, it is a good idea to note where eye level is in the seen (look at eye level at your composition and pick out a centered point). You will need this reference while assembling the images.
Canon 10D 70-200mm F4 @ 70mm
Combination of (6) portrait images using PT Assembler
Lake Martin Louisiana "Cypress Panorama #1"

100% (Actual Pixels) crop of tree on the left
The composite below shows the (6) images prior to Stitching. As you can see the software corrected the image for barrel distortion, especially evident on the two (2) images on the left.

Canon 10D 70-200mm F4 @ 70mm
Individual (6) portrait images prior to stitching
Exposure Settings: First of all set your camera exposure to Manual, this will keep the exposure settings consistent through the different captures. If the exposure settings change between images the seams will reveal different depth of field or under/over exposure between images. Similarly, I like to set the focus with the entire image in mind and flip the lens to manual focusing. I have forgotten this step a couple of times and as you can imagine the auto focus changed between images. I generally prefer to stop down the aperture (f/16 - f/22) creating greater depth of field.
Stitching the images in PT Assembler
There are several panorama stitching programs including Photoshop CS with improved stitching capabilities, however I have stuck to PT Assembler, which is a Windows helper program for Panorama Tools, Helmut Dersch's panoramic image stitching software. This is not a complete tutorial for PT Assempler and Panorama Tools, just an overview of the process.
I typically take the images in RAW format, apply a few exposure corrections to one of the images, then apply those changes to the rest of the images using the RAW processing software and convert to TIFF's. Once loaded into PT Assembler the focal length needs to be specified along with the appropriate multiplier (1.6 for the Canon 10D). The next step is defining the control points, which are reference points on each image at a seam that correspond to each other. This is where that 10-20% overlap is needed. Selecting the control points for each seam is where the most time is spent (manually), other than the software calculations (but you can go out and take pictures of the backyard flowers while the calculations are running). As you can see below the images in this panorama were not level (I was in a hurry and used the ball head without much time spent on leveling the tripod.).

PT Assembler Control Points selection dialog window
The next step is to select the reference point, which is that centered, eye level point you mentally noted while capturing the images. This tell the software how to adjust the yaw/roll/Pitch for all of the images in reference to this point. After setting the reference point the software auto-optimizes the settings, you start the panorama calculations and get a snack (It will take a few minutes depending on the number of images and there file sizes).
Clean-up in Photoshop:
After opening the file in Photoshop, the first step is to make a copy of each layer and delete the original of that layer (this allows the layers to be edited). You will be able to see the seams, to clean this up make selections at the seams (of the upper image) with the polygon selection tool and delete the seam. If there are any tonal differences at the seams you may need to make individual adjustments to the individual layers with curves or levels. Finally, zoom into 100% and look at the seams correcting any seam inconsistencies (such as clouds or water that changed between images) using a soft brush on the mask or the cloning tool.

Seam Selection

Selection Deleted
Max Lyons sight has a great Tutorial on the use of PT Assembler as well as examples of stitched images up to a (1+) Giga-pixel image.
Visit my homepage: www.thomaseven.comSaturday, February 18, 2006
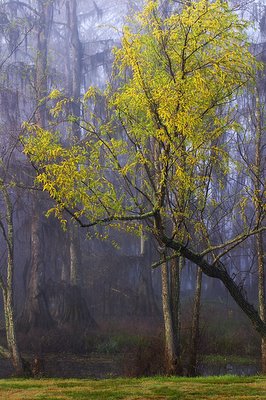
Foggy morning among the cypress
Thursday, February 16, 2006
Arizona in October - part 1


Lower Antelope Canyon - 002
 Lower Antelope Canyon - Black & White
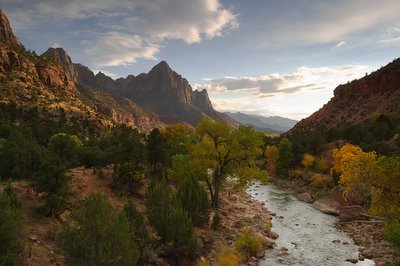
Zion NP Watchman Sunset
 Canyon de Chelly - Panorama

